Table of Contents

HubSpot’s ticketing system helps support teams manage customer issues alongside their CRM data. Agents can review past conversations, deal history, and account details before responding, giving them context without switching tools.
Basic ticketing is free, while paid Service Hub plans add features such as automation, SLAs, a knowledge base, and customer portals.
This guide covers HubSpot's free and paid ticketing features, how to get started, and how to connect tickets with customer conversations in Slack.
What Is the HubSpot Ticketing System?
HubSpot’s ticketing system is a customer support tool within Service Hub. It lets teams create, assign, prioritize, and track issues through resolution. Teams can link each ticket to CRM contacts, companies, and deals, keeping support activity connected to customer records.
HubSpot distinguishes between two tools:
- Tickets: CRM records used to track individual customer issues, including ownership, priority, status, and resolution history. Basic ticketing is available for free.
- Help Desk: A centralized workspace for managing tickets and conversations across connected support channels. It requires Service Hub Professional or Enterprise, with Service Seats needed for advanced capabilities such as SLAs and custom views.
Is the HubSpot Ticketing System Free?
Yes, HubSpot offers basic ticketing for free. You can record and track customer issues without a paid Service Hub subscription. The Help Desk workspace, advanced automation, and other service features require separate plans.
Here’s the pricing starting point:
Free ticketing is a reasonable starting point for a small team that needs to log issues and see who’s handling each one. If your agents need a shared Help Desk, ticket routing, and response-time targets, budget for Service Hub Professional or Enterprise.
How To Use the HubSpot Ticketing System?
Create your first ticket and decide how it should move through your support process. Then connect your support channels and add automation if your plan supports it.
We’ll use the report-export issue as an example.
1. Choose Where Your Team Will Manage Tickets
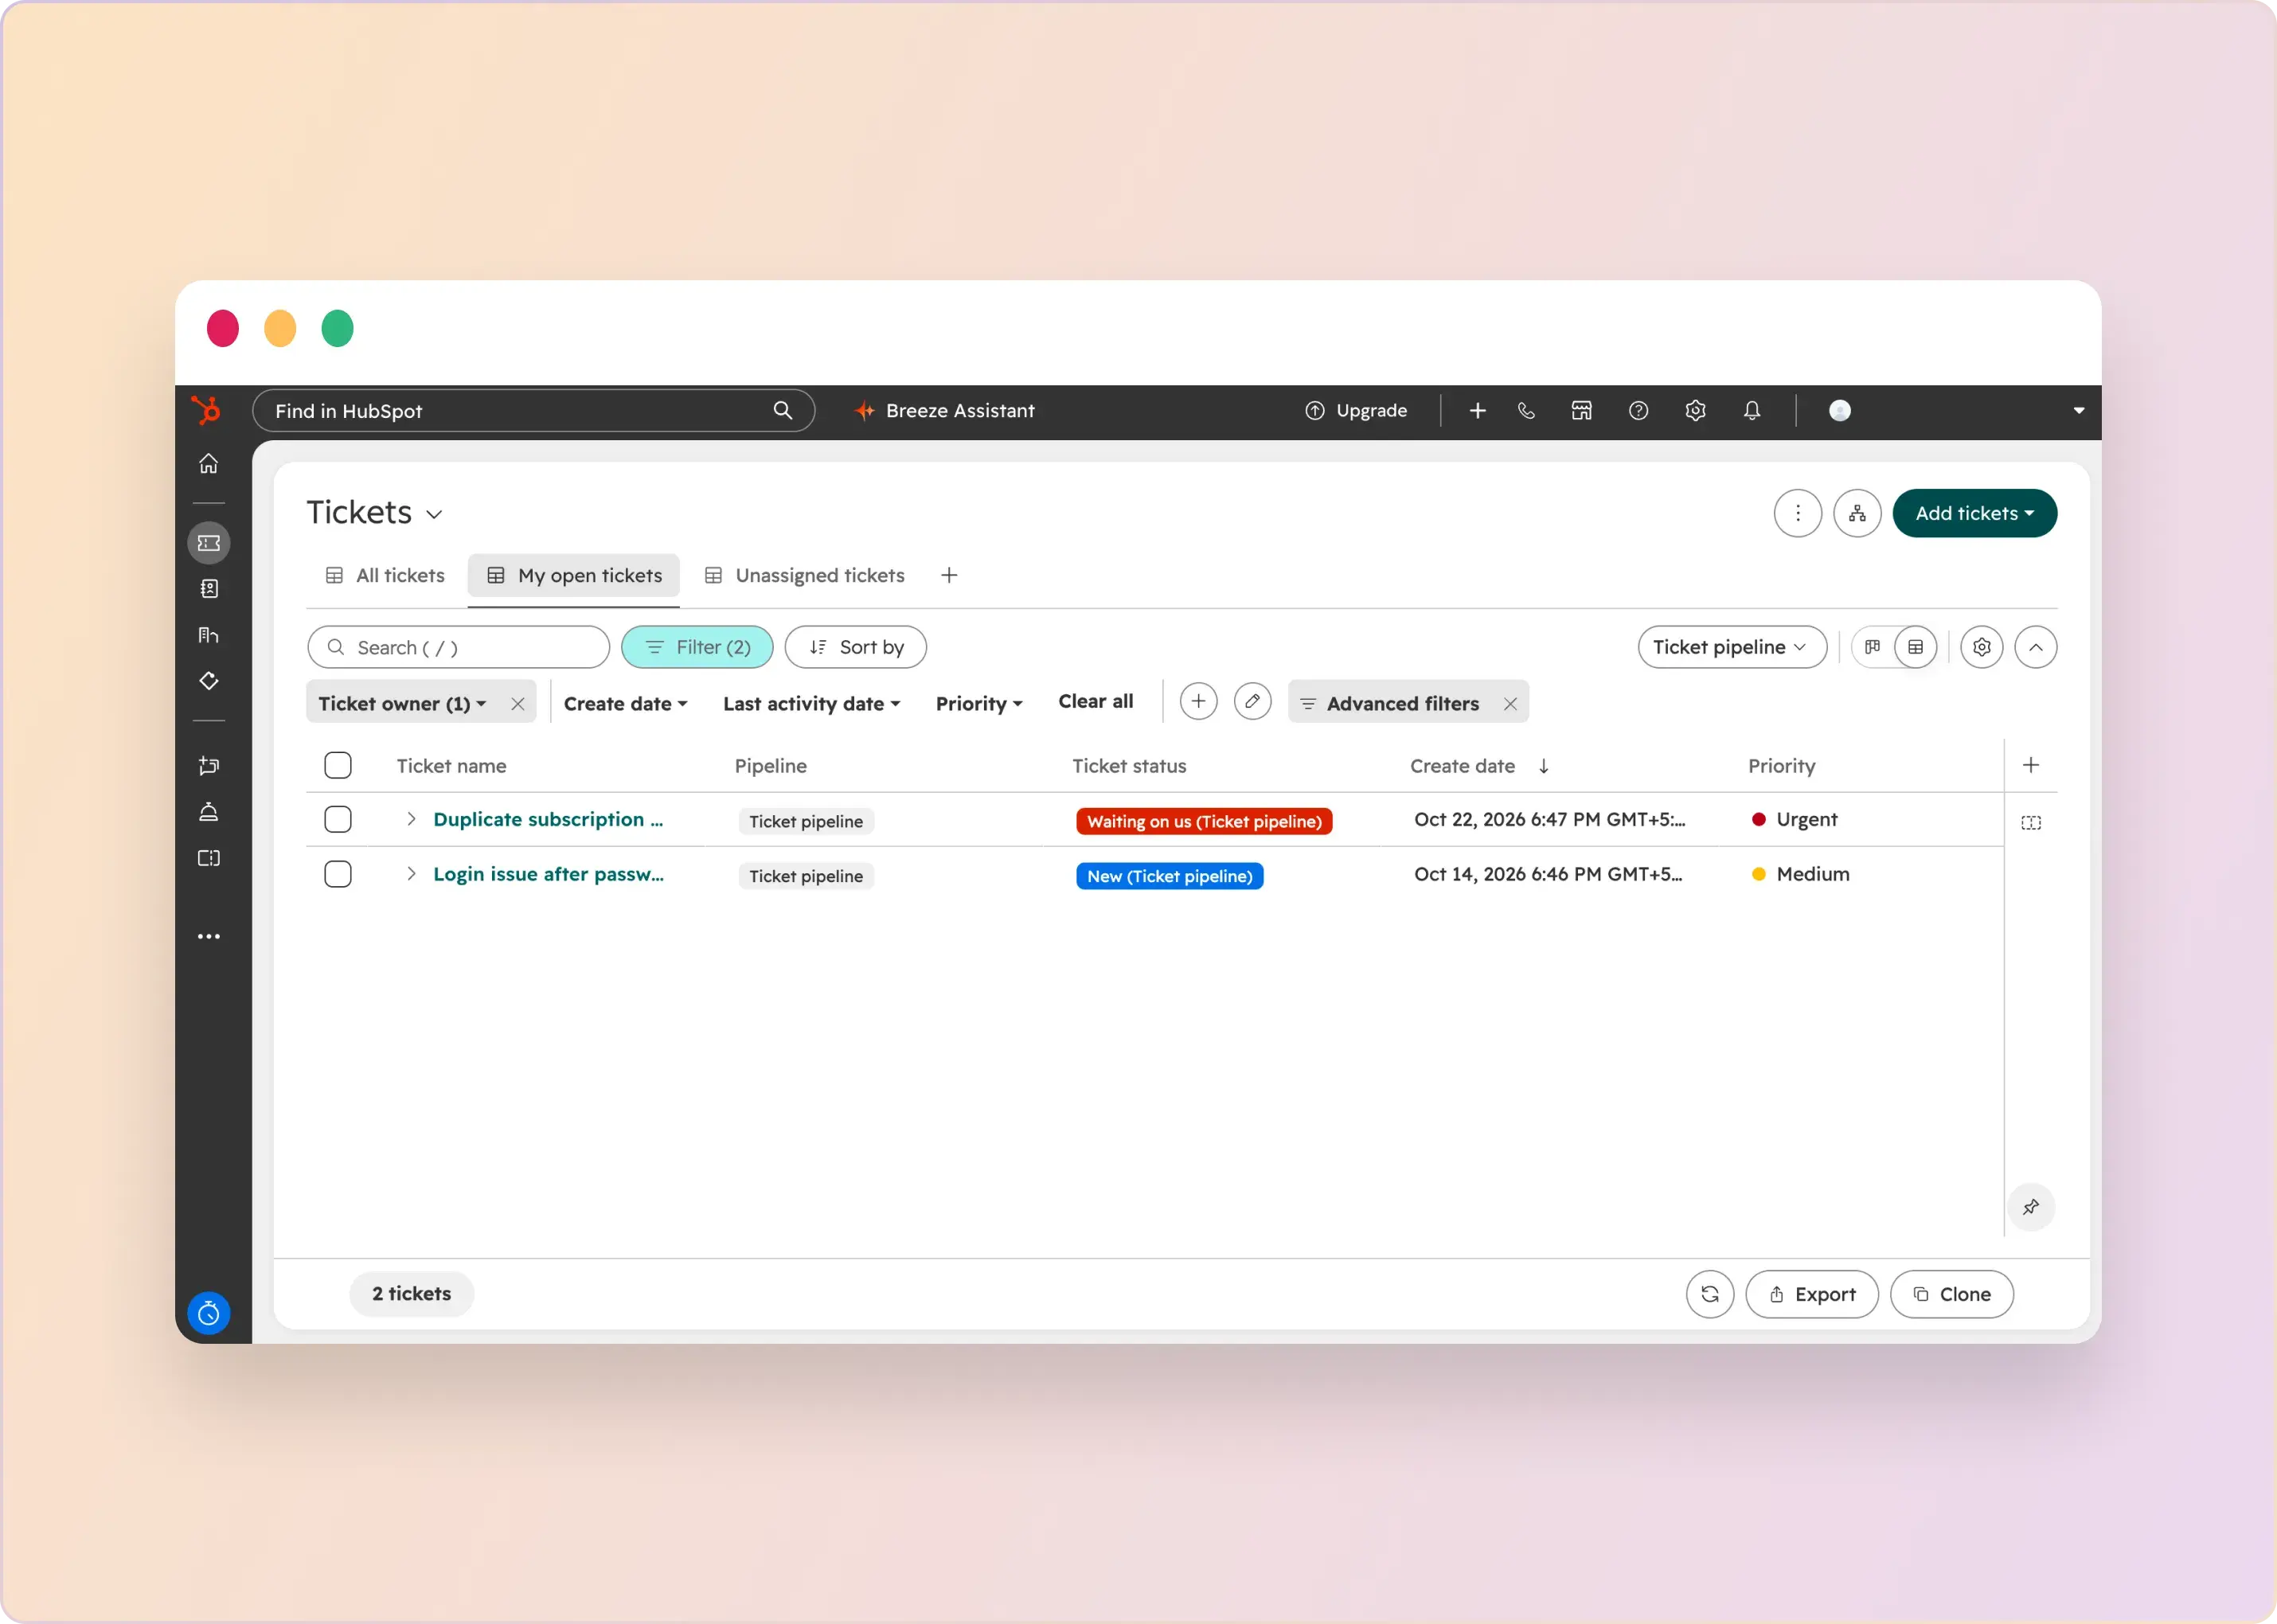
For basic tracking, go to Home and select Tickets from the left-side navigation bar.
If you have Service Hub Professional or Enterprise, open Service > Help Desk. First-time users can select Set up help desk and follow the prompts to create the workspace. HubSpot provides sample tickets so you can preview the experience before connecting live channels.
2. Review Your Ticket Pipeline
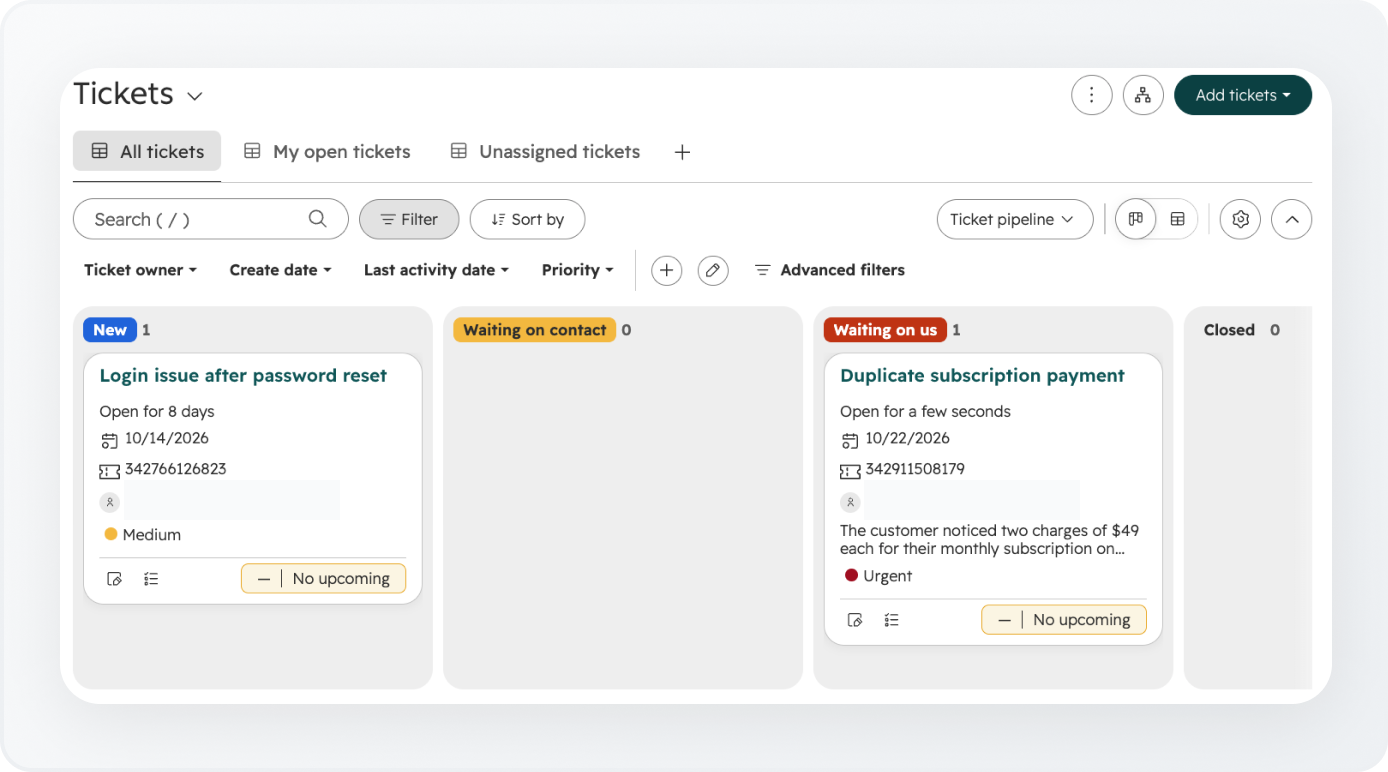
A pipeline shows the stages an issue moves through. HubSpot’s default Support Pipeline uses New, Waiting on contact, Waiting on us, and Closed.
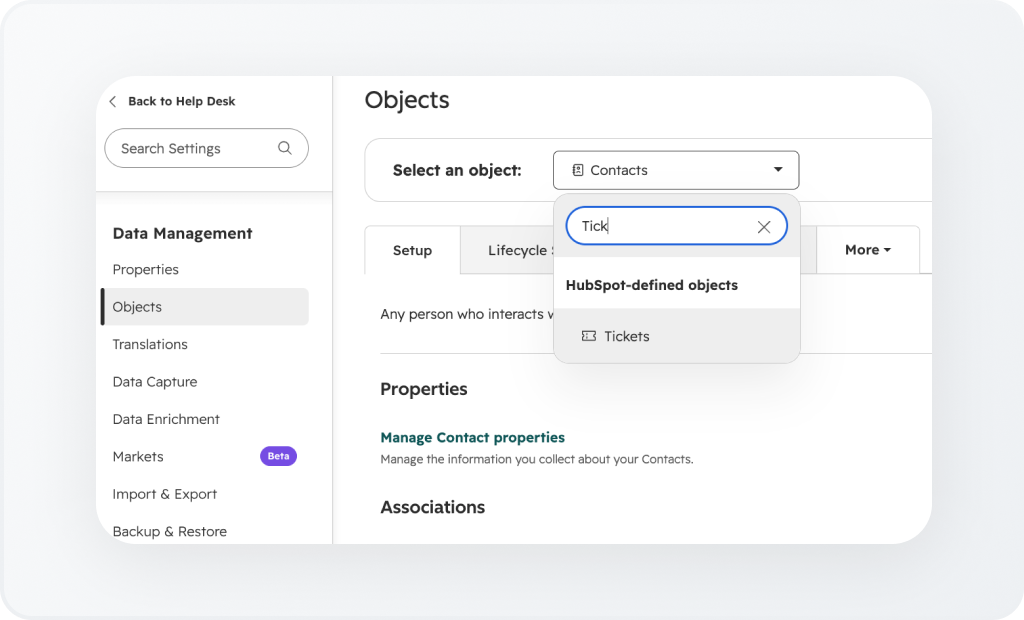
To review it, open Settings and scroll down to Data Management. In Objects and from the Select an Object dropdown, select Tickets, and go to Pipelines. Your permissions determine whether you can edit the settings.
3. Create Your First Ticket
From Home > Tickets, choose Add tickets. In the dropdown, select Create new.
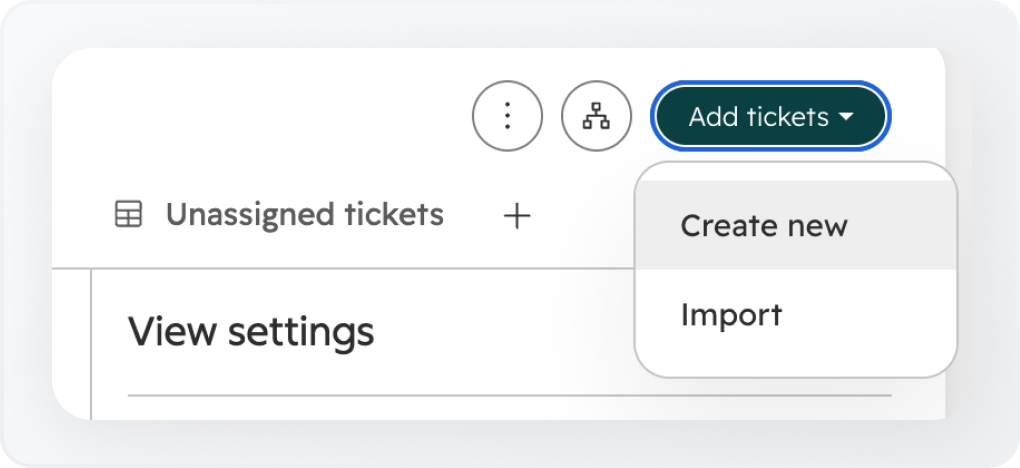
Enter a clear ticket name, select the pipeline and status, and associate the relevant contact or company. For example:
- Ticket name: Report export fails with an error
- Pipeline: Support Pipeline
- Status: New
- Associated contact: The customer who reported the issue
Add a description with what happened, what the customer tried, and any useful evidence. Then save the ticket.
4. Connect Your Support Email To Help Desk
On Service Hub Professional or Enterprise, connect a shared address such as support@yourcompany.com to automatically create tickets from incoming emails.
Go to Settings > Inbox & Help Desk > Help Desk > Ticket sources and routing > Channels.
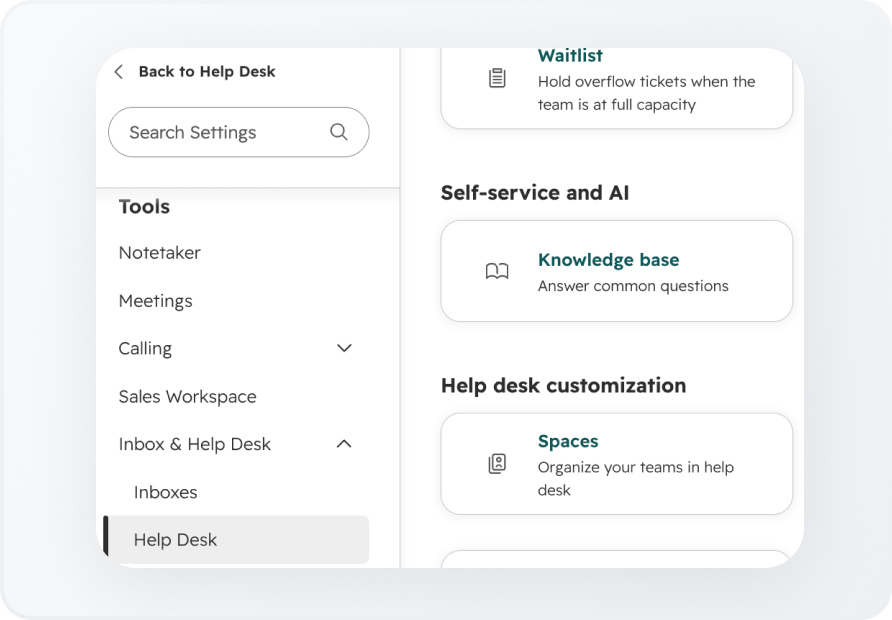
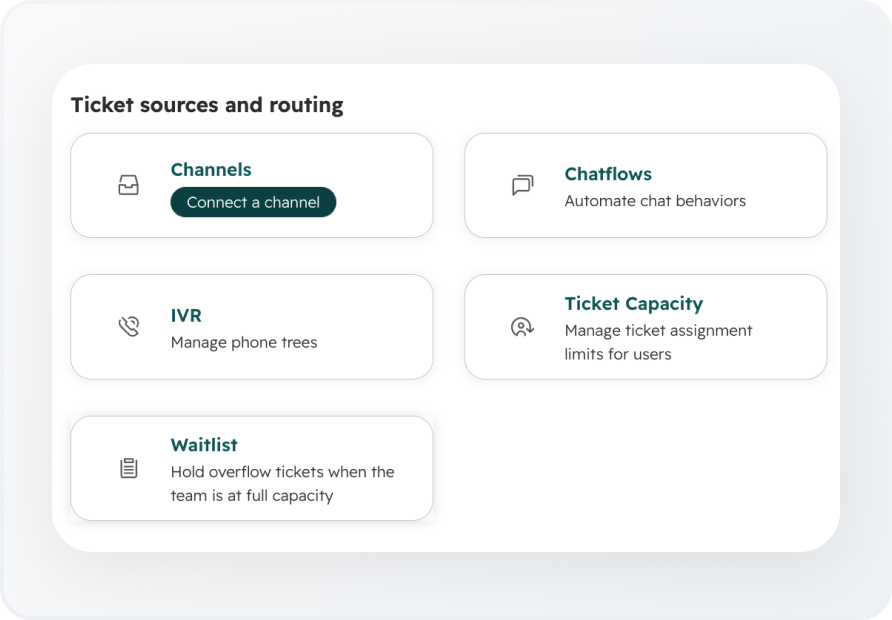
Under Channels, click on Connect a channel.
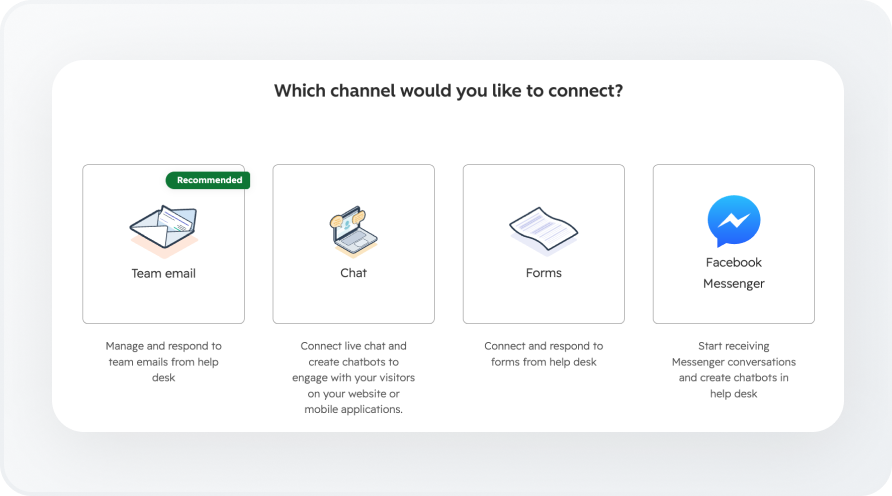
Select Team email from the pop-up that opens.
Follow the prompts to choose ticket defaults, routing, and the email connection. Accounts using HubSpot’s redesigned channel settings may find this under Settings > Inbox & Help Desk > Channels.
Use your team’s shared support address. HubSpot treats this differently from an individual employee’s connected email account.
5. Give Each Ticket an Owner
In Help Desk, open an unassigned ticket and use Ticket owner to assign it to the person or team responsible.
You can also configure automatic routing for connected channels. Users need an assigned Service Seat to be included in automatic routing rules.
For the sample issue, assign one person to own the customer update, even if engineering helps investigate. That makes the next action clear.
6. Test the Conversation Through to Resolution
Send a test email to your connected support address. Check that the ticket appears with the expected pipeline, status, and owner.
Reply from Help Desk and confirm that the customer receives it. Use an internal note to ask a teammate for help, then move the ticket to Closed when the problem is resolved. HubSpot’s reply and note controls let agents handle customer communication and internal discussion within the ticket.
Reply from Help Desk and confirm that the customer receives it. To ask a teammate for help, switch to the Note tab, type @ followed by their name, and add your message. This creates an internal note that your team can see but the customer cannot. Move the ticket to Closed when the problem is resolved.
If you promise customers a reply within a set time, configure SLA goals to track that commitment. Test a ticket to check that the timer follows your support hours and flags approaching deadlines.
What Are the Features of the HubSpot Ticketing System?
HubSpot’s ticketing features cover issue tracking, communication, automation, and reporting. Availability depends on your subscription and, for some features, the user’s seat.
- Ticket records connected to your CRM: Tickets can be associated with contacts and companies. An agent can link the reported problem to the customer record, while an account manager can find the support issue tied to that account.
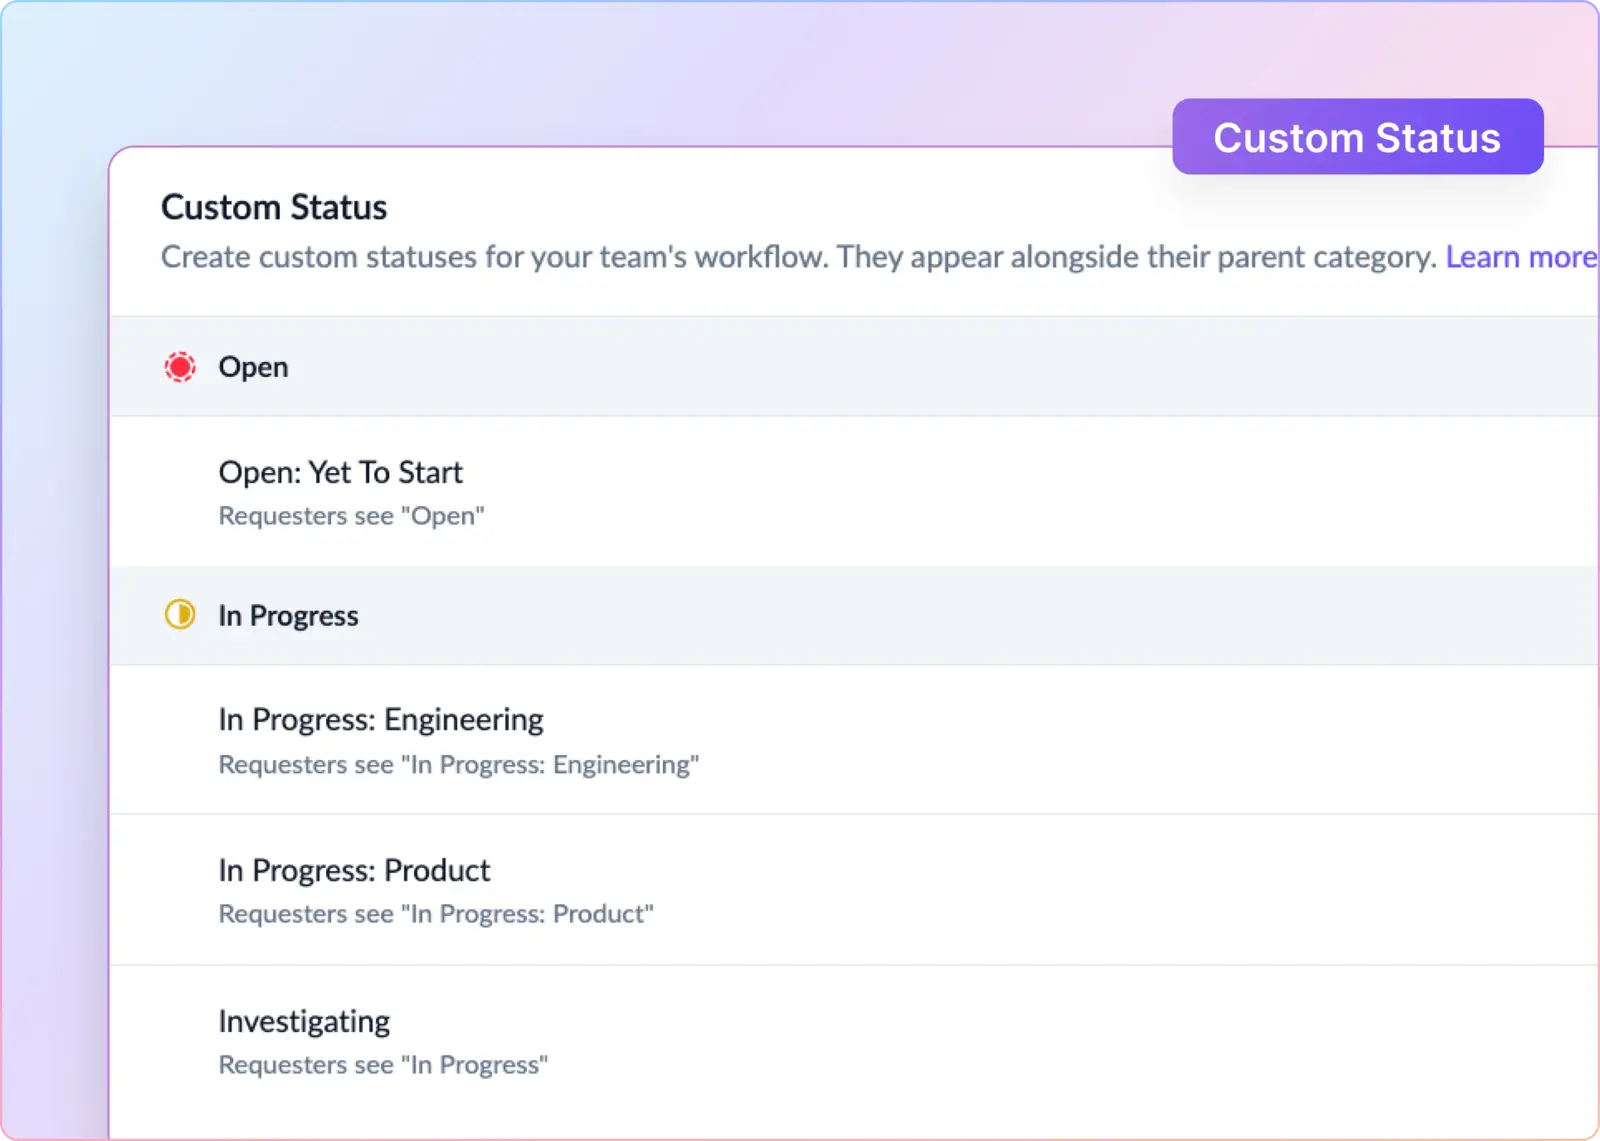
- Pipelines, statuses, and priorities: Ticket pipelines show progress through your support process. Statuses help distinguish work waiting on your team from work waiting on the customer, while priorities help agents decide what needs attention first.
- Support conversations across channels: The paid Help Desk workspace brings together conversations from connected channels, including email, chat, forms, calling, WhatsApp, and Facebook Messenger. Your agents can manage those requests from a shared workspace.
- Routing and workflow automation: Automatic routing sends incoming tickets to eligible users or teams. On Service Hub Professional and Enterprise, workflows can automate service tasks such as escalating tickets, updating properties, and creating follow-up tasks.
- Service-level agreement tracking: Help Desk SLAs let you set targets for the first reply, next reply, and time to close. You can also define working hours and pause conditions. These targets help agents see when a ticket needs attention before a customer has to chase an update. SLA tracking is available in Service Hub Professional and Enterprise; rules that combine multiple properties require Enterprise.
- Support performance reports: Help Desk’s Summary and Analyze pages show metrics such as tickets created and closed, reply times, time to close, and SLA performance. They require an assigned Service Seat. For our export issue, reporting can help you investigate whether similar requests are taking longer to resolve.
- AI reply recommendations: On eligible Professional and Enterprise accounts, agents with Service Seats can receive suggested replies based on the conversation and content synced with the customer agent. They can edit, use, or dismiss a suggestion. You’ll need to set up a customer agent, sync the content it should use, and enable Generative AI and Customer Conversation Data in HubSpot’s AI settings.
What Are the Limitations of the HubSpot Ticketing System?
HubSpot links support tickets to customer records, but advanced features, subscription costs, channel limits, and integration requirements can make it less suitable for some teams. Here are six limitations to consider before choosing it.
- Advanced features require higher-tier plans: Several support capabilities, such as SLAs, automation, custom objects, and governance (e.g., sandboxes, reusable permission sets), require Service Hub Professional or Enterprise. Starter supports custom pipelines, but it shares the allowance across record types. Sales and support teams may therefore compete for the same capacity.
- Subscription, onboarding, and usage costs add up: At the stated catalog starting price of $100 per Professional Service Seat per month, ten agents cost $1,000 monthly, excluding the required $1,500 onboarding fee. Enterprise starts at $150 per Service Seat per month, billed annually, plus a $3,500 onboarding fee. Additional costs may include messaging add-ons and HubSpot Credits for AI usage. Included credits reset monthly and do not roll over, so higher consumption can increase costs.
- Communication channels have functional restrictions: HubSpot supports email, forms, live chat, calling, WhatsApp, and Facebook Messenger, but capabilities vary by channel. For example, SMS support is a Professional and Enterprise beta feature that requires an add-on. Slack and Microsoft Teams integrations support internal ticket collaboration, but they don't automatically provide end-to-end customer support through shared channels. Teams may still need a separate workflow to capture external requests, create tickets, and send customer-facing replies.
- Self-service and AI require higher plans and ongoing maintenance: HubSpot's knowledge base and customer portal require Professional or Enterprise. Professional includes one knowledge base with up to 2,000 articles. Enterprise supports up to 100 knowledge bases and 10,000 articles in total. Organizations managing multiple brands or product-specific help centers may therefore need Enterprise.
- Internal support and external integrations add complexity: HubSpot is built around CRM-linked tickets. Using it for internal IT or HR support requires additional planning for employee identities, departments, managers, assets, and access permissions. Portal ticket visibility depends on contact and company associations, so organizations must carefully design who can view each request.
In short, HubSpot ticketing fits teams already invested in its CRM, but organizations needing advanced automation, external messaging, internal IT service management, or complex integrations should evaluate the full implementation and subscription requirements, not just the entry-level ticketing features.
Automate the HubSpot Ticketing System With ClearFeed
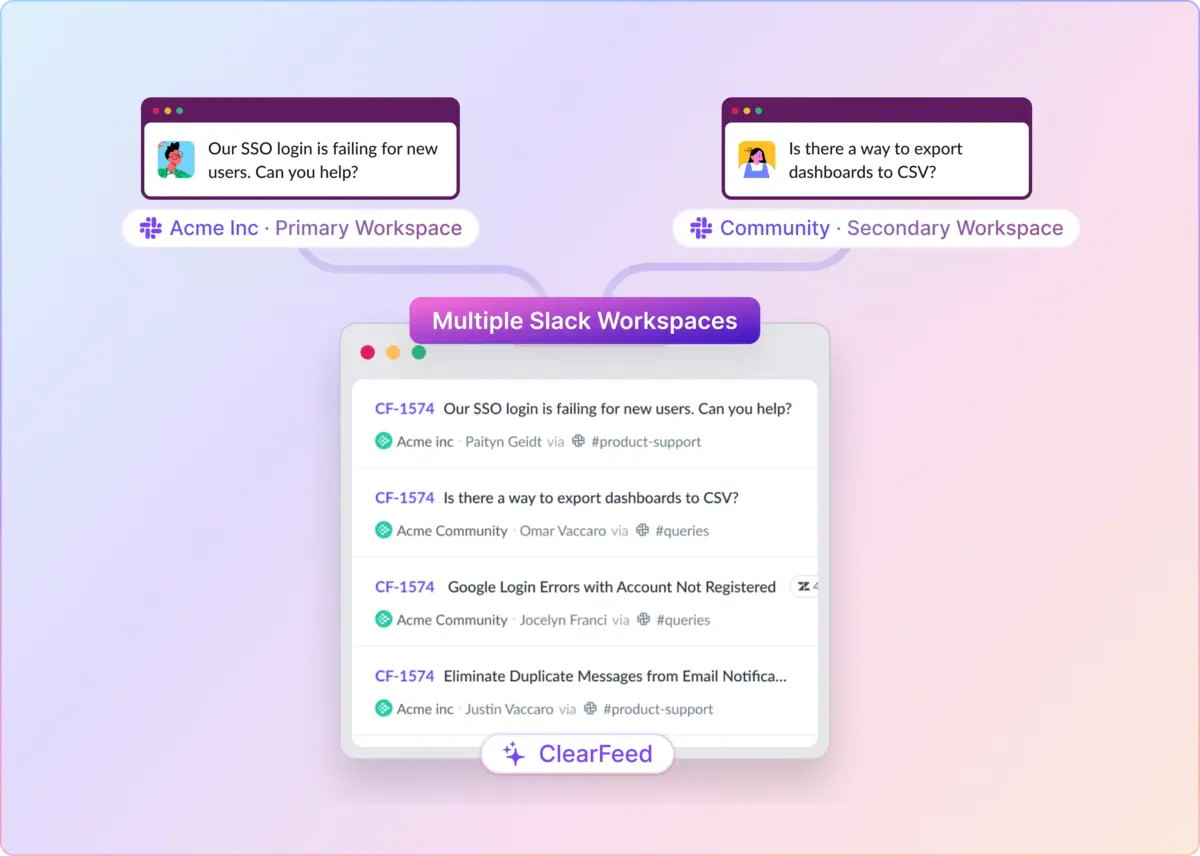
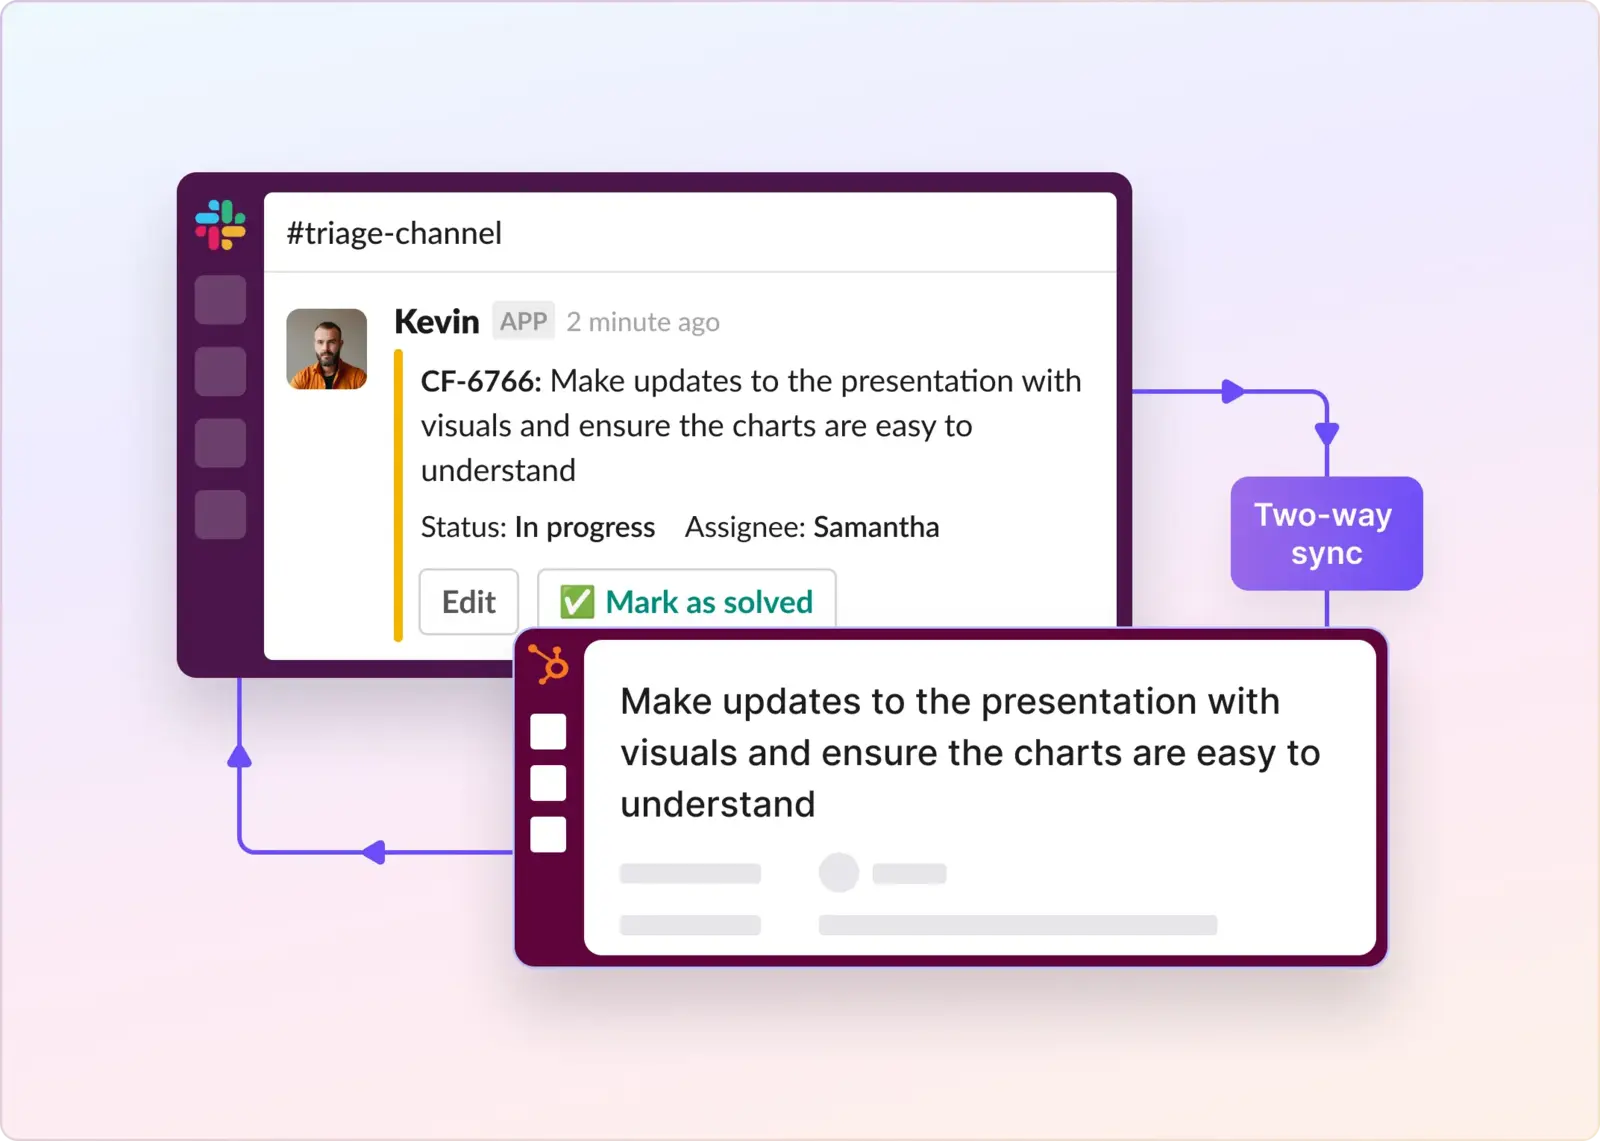
If your team uses HubSpot and customers ask for help in Slack, ClearFeed can link the conversation to the ticket. For example, a customer posts the report-export error in a shared Slack channel. ClearFeed creates a HubSpot ticket from that thread. With two-way message sync configured, your support agent can reply from HubSpot, and the customer can continue the conversation in Slack.
Here’s what you can set up with ClearFeed’s HubSpot integration.
- Turn Slack conversations into HubSpot tickets: Choose automatic ticket creation for each new conversation in a configured request channel, or use an emoji trigger to file selected threads. Agents can also file a HubSpot ticket from a ClearFeed triage channel. Automatic creation suits a dedicated support channel. An emoji trigger gives your team control in channels that mix support questions with everyday conversation.
- Keep replies and attachments connected: ClearFeed supports two-way message sync between linked Slack threads and HubSpot conversations, including attachments. Agents can work in HubSpot while customers continue replying in Slack. Two-way message sync requires HubSpot Custom Channels support, documented by ClearFeed as Professional or higher, plus the required integration permissions. Without Custom Channels support, ClearFeed can still send tickets and Slack messages to HubSpot, but HubSpot replies won’t sync back to Slack.
- Collect the details your support team needs: Use HubSpot ticket forms in ClearFeed to collect supported ticket fields during creation. You can make fields required, supply defaults, and control which fields requesters or responders can edit. For the export issue, you could ask for a report name or issue category before filing. ClearFeed can also generate a ticket title and description summary when AI summarization is enabled and the thread exceeds its configured length threshold.
- Assign and resolve tickets from Slack: Configured emoji rules let your team assign and resolve linked HubSpot tickets from Slack. ClearFeed can also assign the request and linked HubSpot ticket to the first eligible responder when that rule is enabled. It won’t overwrite an existing HubSpot assignee through this first-response rule.
- Bring customer context into the support workflow: ClearFeed’s separate CRM sync imports selected HubSpot Company and Deal fields into ClearFeed customer records. Teams can use those fields in ClearFeed automations and SLA policies. CRM Sync runs one way, from HubSpot to ClearFeed, every 30 minutes. This customer-data sync is separate from the two-way ticket message sync.
Connect HubSpot and Test One Channel
To get started:
- Open Settings > Integrations in ClearFeed and connect HubSpot. A HubSpot Super Admin must authorize the connection.
- Open the relevant Collection, the group of support channels you want to configure, and go to Settings > Ticketing Settings.
- Select HubSpot, choose automatic or emoji-triggered ticket creation, and set the destination pipeline and initial status.
- Configure ticket forms and message-sync settings, then test ticket creation, replies, attachments, and closure in one channel.
Your customers can keep asking for help where the conversation started, and your support team can keep the issue recorded in HubSpot. To see that workflow with your own support process, book a ClearFeed demo.