Have you ever lost an approval request in a flood of Slack messages? Or have you had trouble remembering who approved what and when? If you’ve used Slack for even a short time, chances are you’ve run into these problems. The good news is, with the right tools and steps, you can make approvals easier and keep everything neat—all inside Slack.
In this guide, you’ll learn:
- What a Slack approval workflow is and why it’s so helpful
- How to create approval workflows in Slack (simple steps)
- Tips to keep your team on the same page and approvals running smoothly
What Is a Slack Approval Workflow?
A Slack approval workflow is a simple way to handle approvals right inside Slack. It lets you ask for, review, and approve tasks, decisions, or documents without leaving the app. It makes the whole thing faster and removes any unnecessary confusion.
For example, when a support agent needs help with a tricky customer issue (say issuing a billing credit), they can send an approval request to a senior team member. The senior team member can review the request and approve or reject it.
What Are the Key Features of a Slack-Based Approval System?
To create an effective approval workflow, you need to understand its key components. Here’s a breakdown:
1. Request Submission
Setting up an approval workflow in Slack begins with submitting a request (e.g., a custom hardware request). A team member includes the below information:
- A clear description of what’s being requested.
- Relevant details or attachments (e.g., files, links, or screenshots).
- The reason for the request (to provide context).
Pro Tip: You can use Slack’s Workflow Builder to create customizable forms that ensure all necessary information is included upfront.
2. Multi-Step Approval Routing
Once a request is submitted, it needs to be sent to the right person or team for review. This component ensures that:
- Requests are directed to the appropriate approvers based on predefined rules (e.g., department, project, or urgency).
- Multiple approvers can be included if needed, with a clear sequence or hierarchy.
- Example: A budget request might go to the finance manager first, then to the department head for final approval.
Approval Routing is where a lot of advanced functionality is required. For example - can approvers be set dynamically based on the Form data or can approvers even be inferred based on the person submitting the request.
3. Review and Decision-Making
Approvers review the request and make a decision. This step is simplified by:
- Clear notifications that alert approvers when a request is pending.
- Easy-to-use buttons (e.g., “Approve” or “Reject”) for quick responses.
- The ability to add comments or request additional information directly in Slack.
4. Automated Notifications and Reminders
To prevent bottlenecks, automated notifications and reminders are essential. These ensure that:
- Approvers are promptly notified of pending requests.
- Follow-up reminders are sent if a request hasn’t been addressed within a set timeframe.
5. Tracking and Documentation, and Compliance
A good approval workflow includes a system for tracking and documenting decisions. This involves:
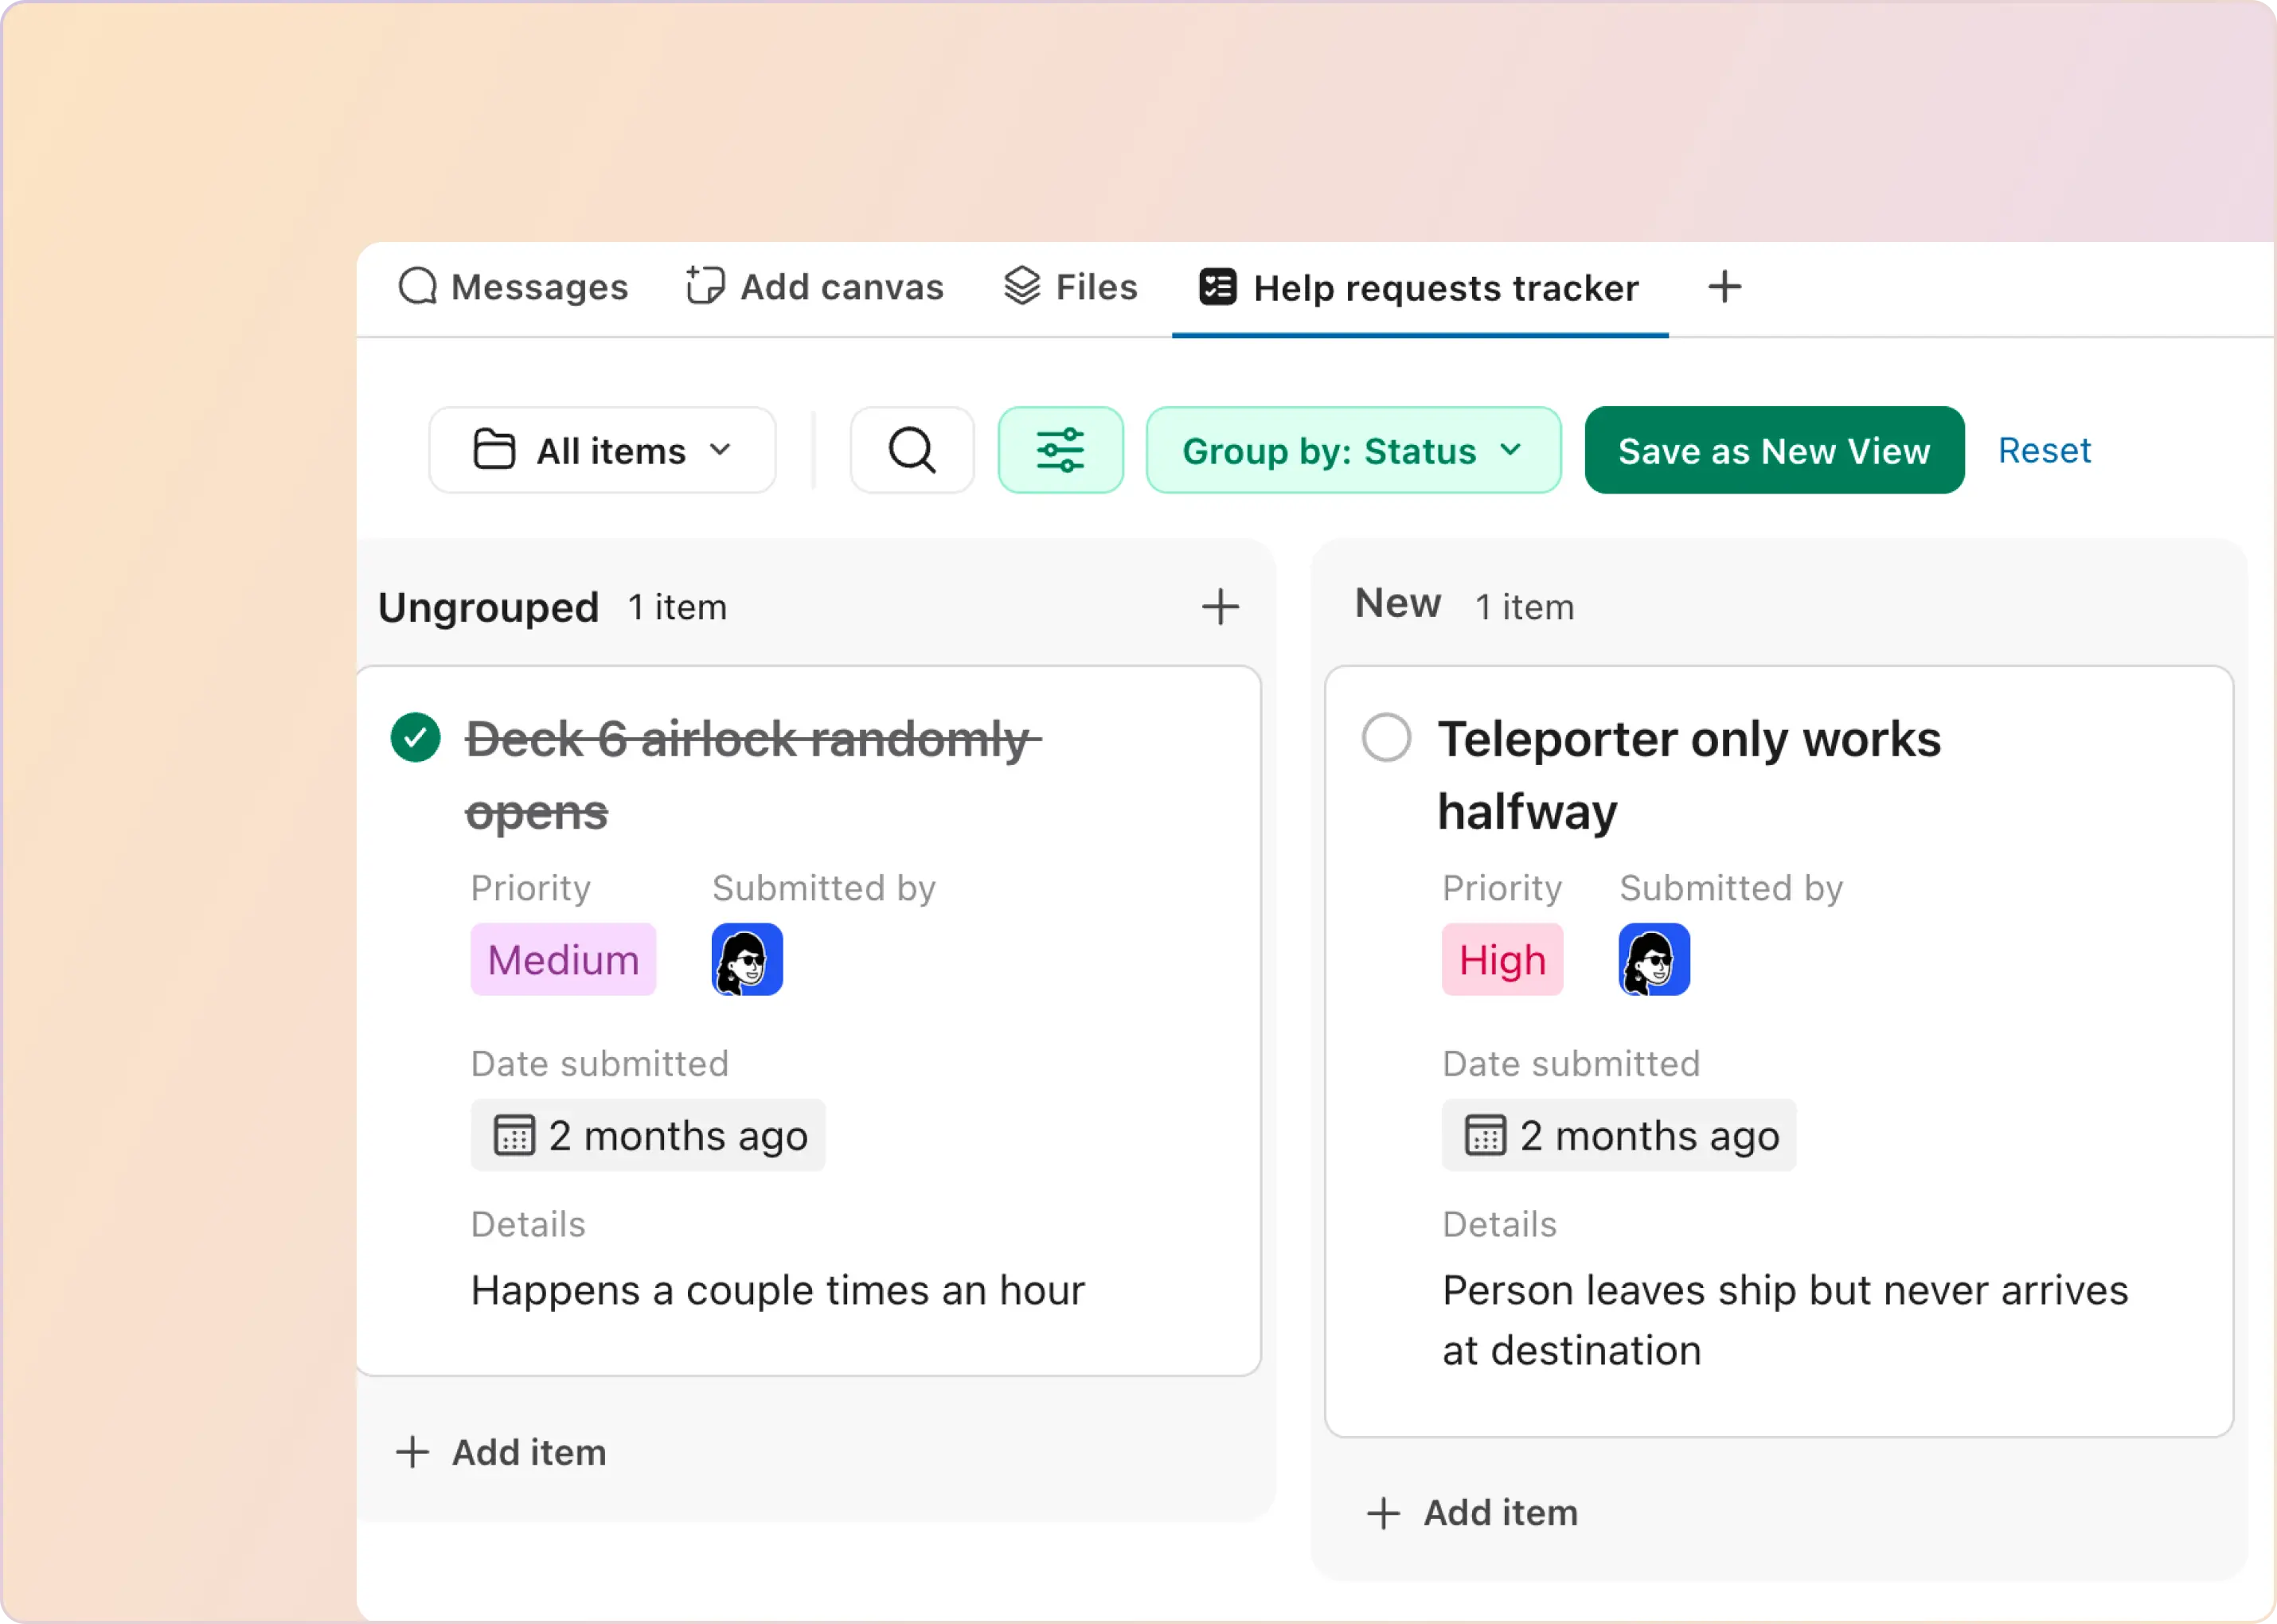
- Logging all requests and their statuses (approved, rejected, or pending).
- Storing approved requests in a designated Slack channel or integrated tool (e.g., Google Drive or Trello).
- Providing an audit trail for future reference.
6. Integration with Other Tools
To maximize efficiency, Slack approval workflows often integrate with other tools, such as:
- Project Management Apps: Like ClickUp, Asana or Trello, to automatically update task statuses.
- Document Management Systems: Like Google Drive or Dropbox, to store approved files.
- CRM Tools: Like Salesforce and HubSpot, to track Sales related approvals.
- ITSM Tools: Like Okta to automatically provision licenses or access on approval.
- Finance Tools: To push invoice approvals and expense reports into Slack.
Example: An approved marketing campaign request could automatically create a task in Asana and attach the approved budget file from Google Drive.
A Slack approval workflow brings together these key components to create a powerful tool. It eliminates the need for scattered emails, reduces delays, and ensures everyone stays on the same page. Ready to build your Slack approval workflow? Let us show you how.
How to Build an Automated Slack Approval Workflow?
To create an approval workflow in Slack using the Workflow Builder, follow these steps:
Method #1: Using Slack Workflow Builder
Here are some example steps to create an approval workflow using the Slack Workflow Builder:
1. From your Slack desktop app, click on your workspace name in the top-left corner. Select Tools > Workflow Builder to open the interface.
2. Click +New Workflow > Build Workflow in the top-right corner and provide a name for your workflow and click Next.
3. Choose how the workflow will start. Common triggers include:
- Emoji reaction: The workflow starts when a specific emoji is used in a channel.

- Links: Triggers when a link is created.
- Scheduled time: The workflow starts at a predefined time.
- Webhook: External events trigger the workflow.
4. Use the Workflow Builder to define the steps:
1. Send a Message for Approval: Add a step to send a message to an approver (e.g., a manager or team lead) in a specific channel or direct message.

2. Include buttons like "Approve" or "Deny" for interaction.
5. Conditional Steps: Use conditional logic to define what happens when the request is approved or denied. For example, if "Approved," notify the requester and proceed with further actions; if "Denied," notify them with an explanation.
6. Test Your Workflow: Before publishing, test your workflow to ensure all steps function as intended. Check that notifications are sent correctly and buttons trigger the expected actions.
7. Publish and Share: Once satisfied, click Publish Workflow. Share it with your team by providing access permissions or sharing the workflow link.
While Slack Workflow Builder is great for creating basic approval workflows, third-party tools like ClearFeed are needed to add advanced features or tailor workflows for specific use cases.
Method #2: Using ClearFeed for IT, Access, and Support Workflows
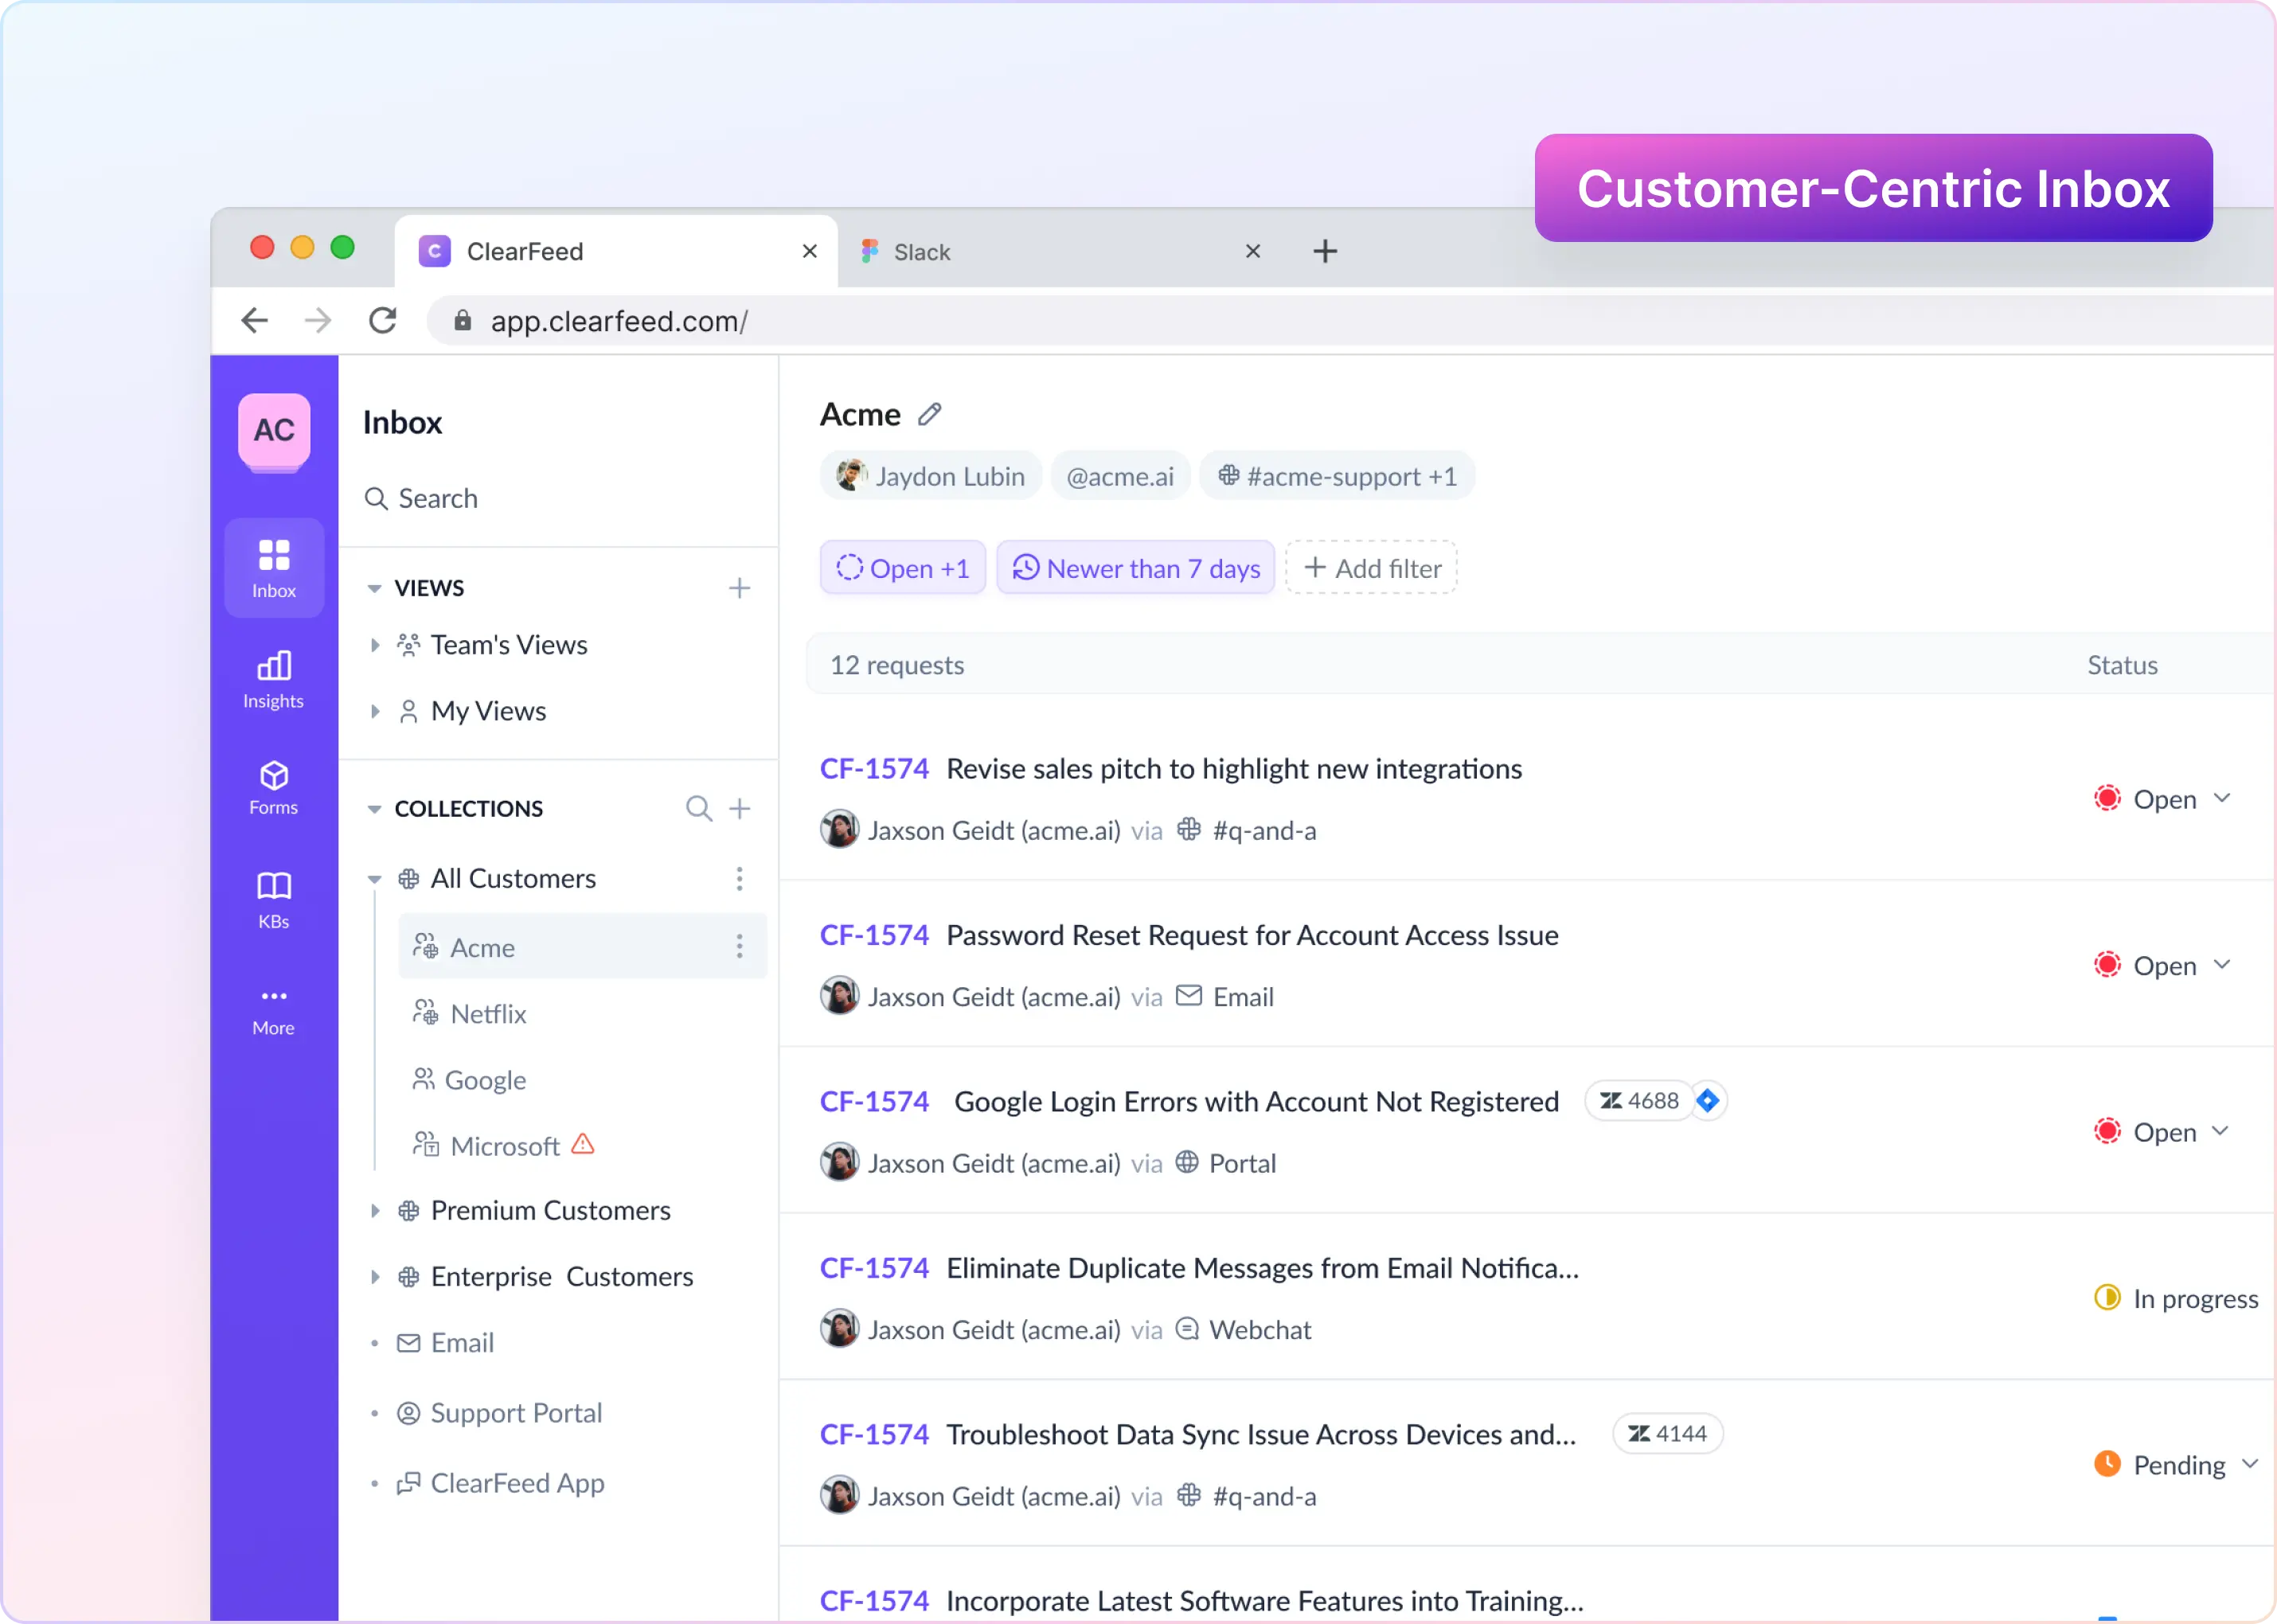
ClearFeed is a comprehensive helpdesk solution for Slack - meant for delivering efficient and automated support for external customers and internal employees (e.g. handling IT access approvals and provisioning). It includes Ticketing, Forms, AI bot to answer questions automatically - and allows agents to work on Support requests from Slack itself. As such it’s a refreshing alternative to browser and email based ticketing systems like Zendesk & Jira. Here’s how ClearFeed can help with approval workflows:
- Create Approval Chains where one or more approvers maybe required for a request.
- Configure Approval Chains based on the nature of the request (example - a higher price travel plan may require more approvers than alower price one).
- Set Approvers from Form Fields (for example from a "Manager" field).
- Infer Approvers from the Employee id (example - lookup Manager field in Okta automatically and use that as approver).
- Provide Approvers easy notifications and approval actions within Slack itself.
- Notify ticket assignees when approvals are completed.
- Chain approval completions to automated actions (example - once Manager approval is obtained, grant access to a licensed subscription via Okta automatically)
Guide to using ClearFeed for Approval Workflows:
- Setup Ticketing: The starting point is to configure ClearFeed to create Tickets. This can be done automatically or manually (via emojis) on channels and via private messages and actions.
- Setup Fields and Forms: Setup Forms that users have to fill out when creating tickets. Based on the Form - the ticket can be routed to different sets of support personnel for action.
- Create Approval Tasks: Depending on the ticket type - create Approval Tasks automatically or manually using ClearFeed’s automations. These tasks can be filed in external systems like Asana using ClearFeed’s excellent 2-way integrations. Or one can create Approval Tasks within ClearFeed itself.
- Resolve Tickets on Approval notifications: ClearFeed will notify agents when approvals are approved. Agents can then proceed to resolve the ticket after taking any further steps from their side.
- SLA Alerts: Administrators can setup alerts via automations to notify Support team if approvals are taking very long. This can allow them to followup on approvals and make sure tickets are resolved in a timely manner.
- Webhook Integration: ClearFeed works with webhooks, so you can send approval requests to other tools or platforms for further action.
In short, ClearFeed offers a Slack-Native ticketing experience - which is similar to Slack Workflows - but with advanced functionalities like SLAs, alerts & automations that Service teams need to provide an excellent service to stakeholders.Want to know more about how ClearFeed can help automate approvals and support processes? Book a demo with us today!


